Get Started
Ploosh is open source yaml based framework used to automatize the testing process in data projects.
Ploosh is open source yaml based framework used to automatize the testing process in data projects.
Ploosh is an innovative testing framework designed to automate the validation processes in your data projects. Built around YAML configuration, Ploosh allows you to quickly compare datasets and ensure they meet expected results, all with minimal code.
Install the ploosh package from PyPi package manager with the following command
pip install ploosh
Add a yaml file with name "connections.yml" and following content:
mssql_getstarted:
  type: mysql
  hostname: myservername.database.windows.net
  database: mydatabasename
  username: myusername
  # using a parameter is highly recommended
  password: $var.mysqlserver_password
Add a folder "test_cases" with a yaml file with any name. In this example "example.yaml". Add the following content:
Test aggregated data:
  options:
    sort:
      - gender
      - domain
  source:
    connection: mysql_demo
    type: mysql
    query: |
      select gender, right(email, length(email) - position("@" in email)) as domain, count(*) as count
        from users
        group by gender, domain
  expected:
    type: csv
    path: ./data/testtargetagg.csv
ploosh --connections "connections.yml" --cases "testcases" --export "JSON" --pmysqlserver_password "mypassword"
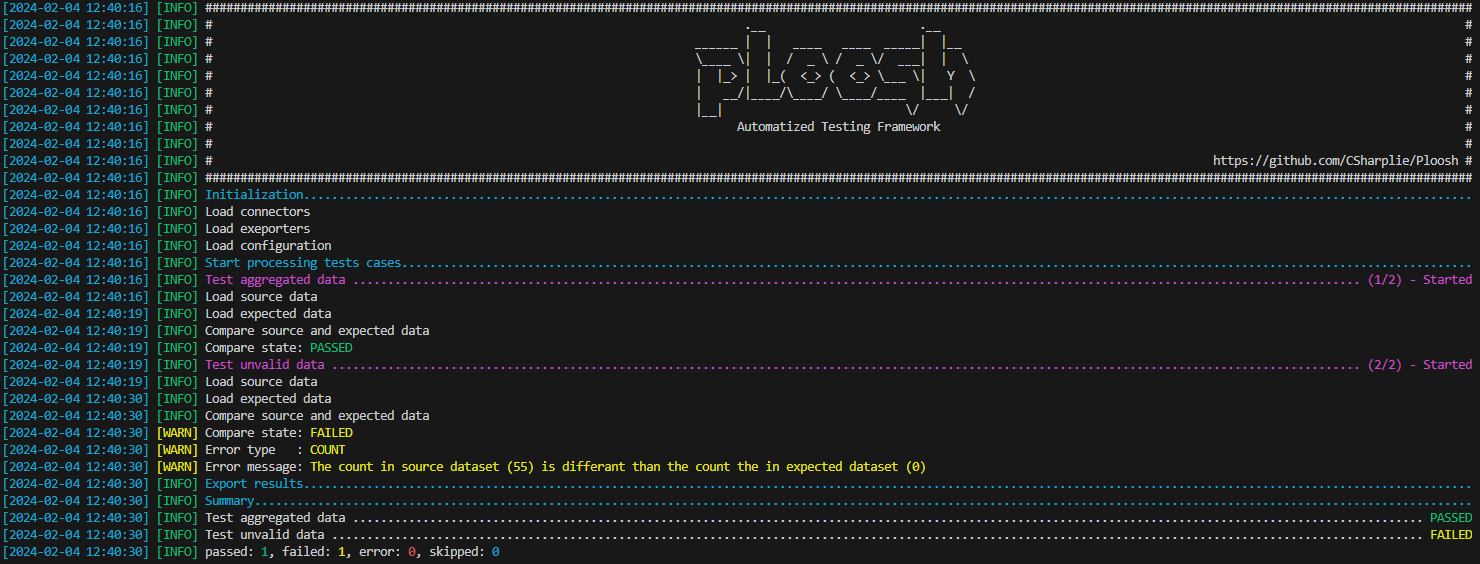
[
  {
    "name": "Test aggregated data",
    "state": "passed",
    "source": {
      "start": "2024-02-05T17:08:36Z",
      "end": "2024-02-05T17:08:36Z",
      "duration": 0.0032982
    },
    "expected": {
      "start": "2024-02-05T17:08:36Z",
      "end": "2024-02-05T17:08:36Z",
      "duration": 0.0012451
    }
  }
]
It's possible to run the tests with spark. To do that, you need to install the spark package or use a platform that already has it installed like Databricks or Microsoft Fabric.
See the Spark connector for more information.
Learn how to integrate Ploosh into Microsoft Fabric to automate data quality testing at scale using Spark distributed processing across multiple workspaces.
Read more : Ploosh + Microsoft Fabric: The Easy Way to Test Your Data PlatformIntroduction In previous articles, we introduced Ploosh as an automated testing framework, highlighting its role in preventing regressions and improving the quality of deliveries in complex data projects.
Read more : ploosh: three key approaches to automating tests in data projectsIn a previous article, I introduced Ploosh, a tool I developed to facilitate testing in the data domain. Today, I will show you a use case where Ploosh was used to improve efficiency during testing phases.
Read more : ploosh: how to simplify your migration testing?